
1. With the printer powered on, connect the USB cable to the printer.
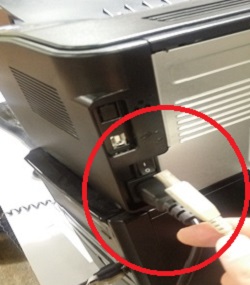

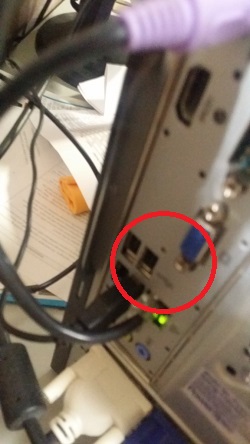
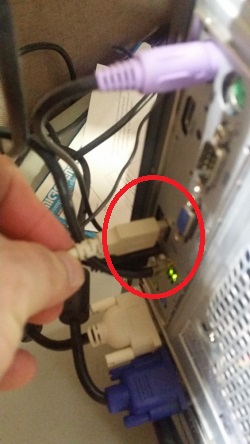
2. Connect the other end of the USB cable to one of your computer's built-in USB ports.
3. Insert the CD that came with your printer into the CD drive. If your computer does not have a CD drive, or, if you prefer to download the latest available drivers from the web, you can visit this page to obtain the latest drivers (verified at the time this article was published). This will begin the driver install process.
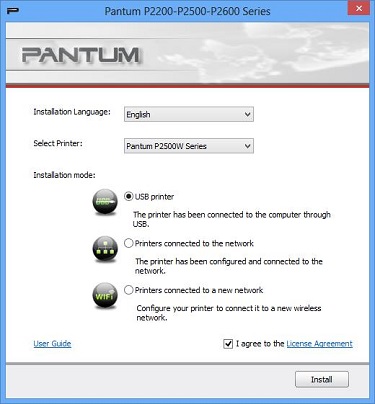
4. A setup screen will appear. Select the appropriate choices (language, model number, USB printer) agree to the license terms, and then click Install. Notice a link to the printer's user guide is also available from this same window.
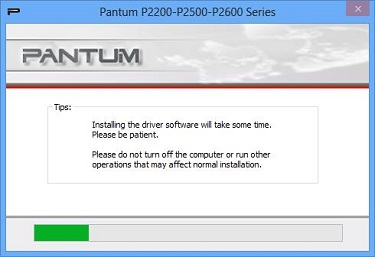
6. Installation progress will display on the screen during the driver install, until it completes.
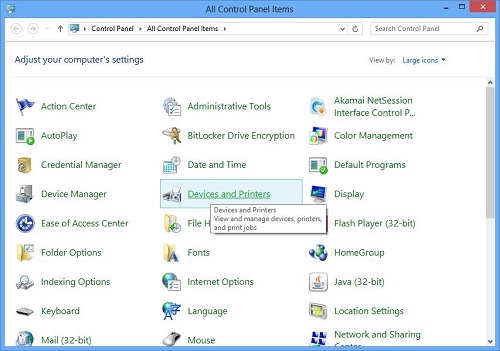
7. Once the driver install completes, go to the Control Panel and select Devices and Printers.
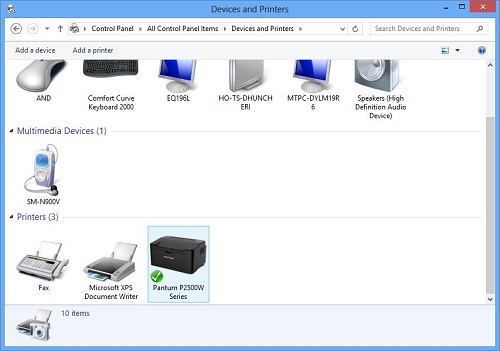
8. Double click on your new printer's icon.
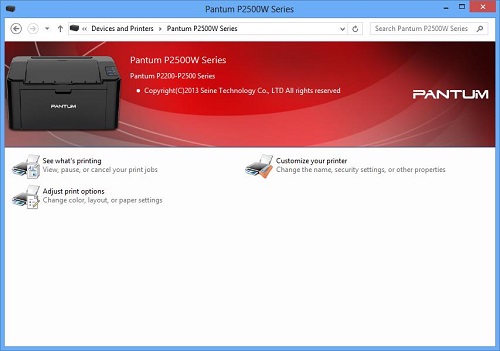
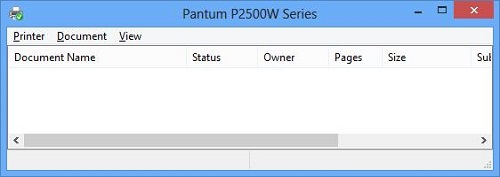
9. A window specific to your printer will open. Select See what's printing.
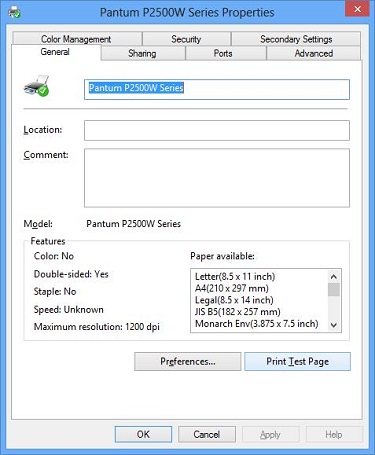
10. A printer utility window will open up - select Printer and then Properties.
11. Select Print Test Page.
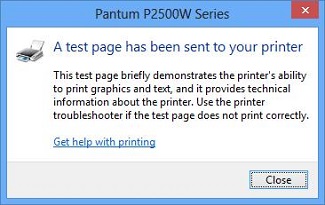
12 . You test page will print out along with a confirmation window on your screen.
-END-
